Implementing Directive Wrappers in Angular
Hey everyone, I'm Aniruddha, working on the front end at Fyle.
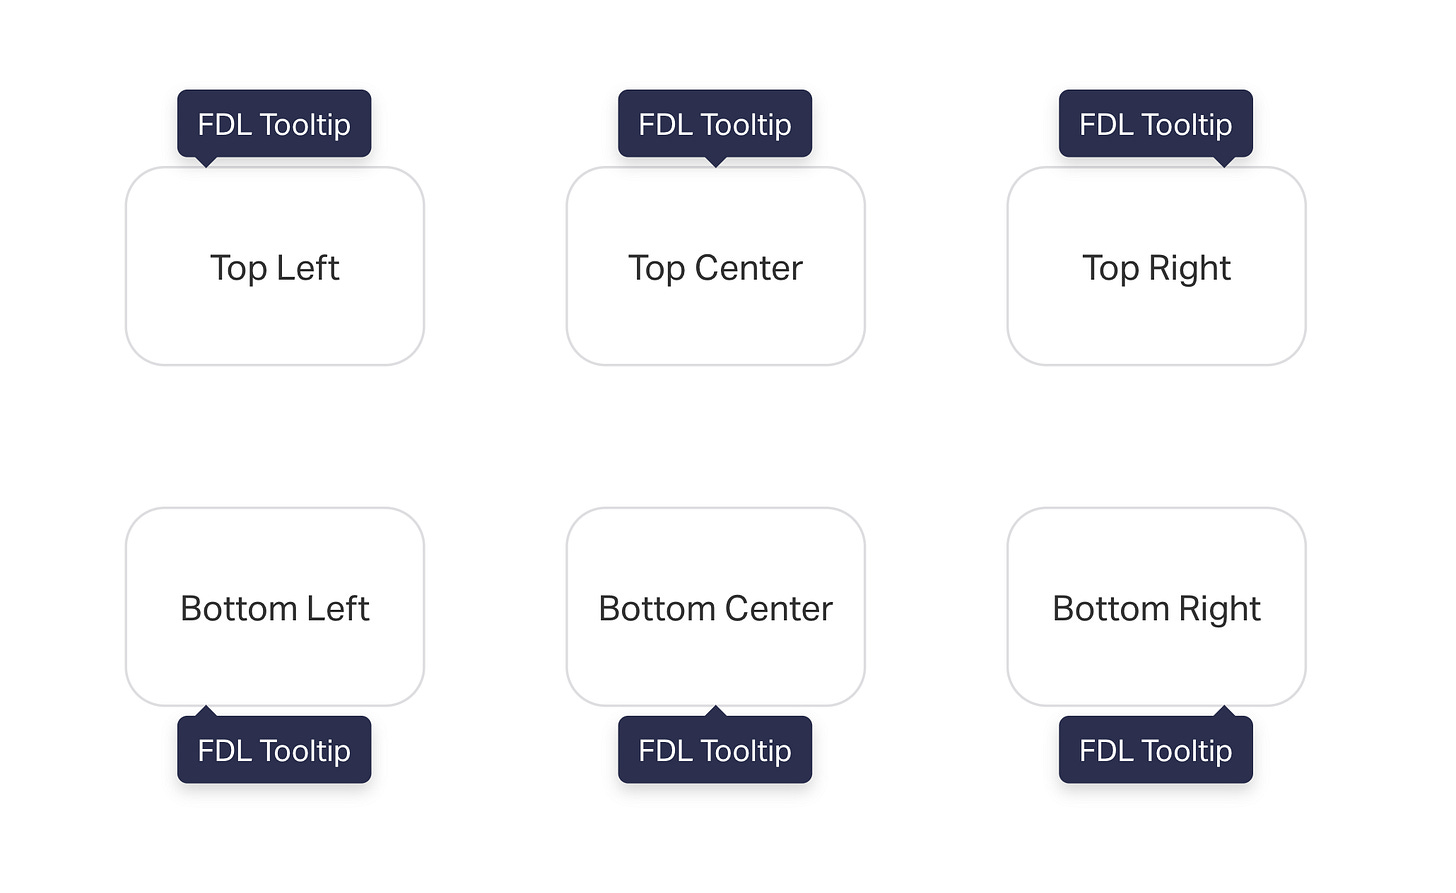
Last year, we made a significant shift from AngularJS to Angular, which you can read about in our blog here. This change and our move to NX's monorepo framework detailed here have improved how we manage and organize our code. As our frontend needs evolved, we saw the importance of having a unified design system, leading us to develop the Fyle Design Language (FDL). We have chosen PrimeNg as our UI component library so now we're integrating Primeng with FDL, creating custom wrapper components for a seamless fit with our design principles.
Let's talk about the advantages of wrapping Open Source UI Libraries:
Reduced Dependency on External Updates: Direct use of third-party components can lead to numerous changes across our codebase with each library update. Wrapping these components isolates us from such widespread changes.
Streamlined Component Updates: When API changes occur in the Primeng library, modifications are needed only in our wrapper components, significantly reducing the effort and risk of errors.
Consistency with Fyle's Design Language: Internal use of these wrapped components ensures uniformity in style and feel, aligning with the aesthetics of Fyle’s Design Language.
Flexibility for Future Changes: If we switch to another library or develop our own, the transition becomes smoother, as changes are centralized within our wrapper components.
This technique allows us to customize Primeng's offerings to suit our design standards while maintaining the flexibility to transition to other libraries in the future. So our applications interact with FDL components now, ensuring a harmonious and uniform user interface.
While developing directive wrappers, we initially faced a unique set of challenges. Unlike component wrappers, which are more straightforward, directives pose a different complexity. Initially, we explored various methods such as using Renderer2 for DOM manipulation, employing @HostBinding for property binding, or extending third-party directives. However, these approaches fell short when it came to wrapping Primeng's tooltip directive. The primary issue was the non-triggering of essential lifecycle hooks in the directive, which are crucial for a feature like a tooltip that relies heavily on dynamic display triggers. Overcoming this hurdle required a different strategy, leading us to explore other solutions.
This led us to explore the composition method, a more promising approach for our needs. In this method, we created instances of the directive and managed its lifecycle hooks directly within our wrapper. This strategy proved to be the key to successfully integrating the third-party directive with our FDL components.
Let's dive into the detailed steps of how we accomplished this, for example, we would create a wrapper directive around PrimeNg’s Tooltip Directive
Step 1: Define Directive with Essential Inputs
In the first step, identify the necessary inputs for your directive, focusing only on what's relevant to your application, also by keeping the input names the same as those in the third-party library, you'll find it greatly simplifies the integration process, especially when we delve into Step 3.
@Directive({
  selector: '[fdlTooltip]',
})
export class FdlTooltipDirective {
  @Input('fdlTooltip') content: string;
  @Input() tooltipPosition: 'left' | 'right' | 'top' | 'bottom';
  @Input() tooltipStyleClass: string = '';
}
Step 2: Instance Creation with Essential Dependencies
In this step, we focus on creating an instance of the Tooltip directive from PrimeNG, ensuring it gets all necessary dependencies. The key here is to follow the pattern of dependency injection, but we'll keep it straightforward and aligned with the standard needs of our directive.
import { Tooltip } from 'primeng/tooltip';
import { PrimeNGConfig } from 'primeng/api';

// Factory function to create an instance of Tooltip with necessary dependencies.
function TooltipDirectiveFactory(
  platformId: any,
  elm: ElementRef,
  zone: NgZone,
  config: PrimeNGConfig,
  renderer: Renderer2,
  cd: ChangeDetectorRef,
): Tooltip {
  return new Tooltip(platformId, elm, zone, config, renderer, cd);
}

// Provider object for Tooltip, utilizing the TooltipDirectiveFactory for instantiation.
const TooltipDirectiveProvider = {
  provide: Tooltip,
  useFactory: TooltipDirectiveFactory,
  deps: [PLATFORM_ID, ElementRef, NgZone, PrimeNGConfig, Renderer2, ChangeDetectorRef],
};

@Directive({
  selector: '[fdlTooltip]',
  providers: [TooltipDirectiveProvider],
})
export class FdlTooltipDirective {

  ...inputs

  constructor(private tooltip: Tooltip) {}
}
In this part, we're setting up a 'factory function' to create our directive. First, we list all the parts needed for the Tooltip directive from PrimeNG in the deps array. These are like ingredients for our recipe. Next, the TooltipDirectiveFactory function takes these ingredients and uses them to make a new Tooltip instance. Think of useFactory as the instruction telling Angular, 'Hey, use this factory function to create the Tooltip.' Once this is set up, we can use the Tooltip instance in our directive's constructor, allowing us to integrate its functionality seamlessly into our custom directive
Step 3: Implementing Lifecycle Hooks and Assigning Inputs
The crucial step is managing the lifecycle hooks and inputs. By mirroring the lifecycle hooks of the third-party directive within our custom directive, we ensure that all essential behaviors are maintained. The key here is the synchrony between the hooks; for example, when our directive's ngAfterViewInit is called, it triggers the corresponding lifecycle hook in the wrapped directive. Moreover, because we kept our input names the same as the original directive, assigning values in ngOnChanges becomes straightforward and ensures that any input-dependent behaviors in the library work seamlessly.
@Directive({
  selector: '[fdlTooltip]',
  providers: [TooltipDirectiveProvider],
})
export class FdlTooltipDirective implements AfterViewInit, OnChanges {

 @Input() tooltipPosition: 'left' | 'right' | 'top' | 'bottom';
 // ...other inputs

 constructor(private tooltip: Tooltip) {}

 ngOnChanges(changes: SimpleChanges): void {
    this.tooltip.tooltipPosition = this.tooltipPosition
    // Do the same with all other inputs

    this.tooltip.ngOnChanges(changes);
  }

  ngAfterViewInit(): void {
    this.tooltip.ngAfterViewInit();
  }
}
In this last step, we ensure that every necessary lifecycle hook of the directive we are wrapping is appropriately called, and all inputs are correctly assigned. This approach makes our directive function as if it's a natural part of the third-party library
Adopting this approach at Fyle has significantly streamlined our workflow, making the integration of third-party directives into our Angular app more efficient and in tune with our design principles. It simplifies the development process, enabling our team to utilize these directives more effectively, without getting bogged down by the complexities of external libraries. This strategy represents a thoughtful adaptation, aimed at enhancing both the efficiency and coherence of our development work.

References:
https://blog.snowfrog.dev/how-to-wrap-an-angular-directive-library/
https://medium.com/@TimHolzherr/should-you-wrap-your-ui-component-library-42dfc41df828


